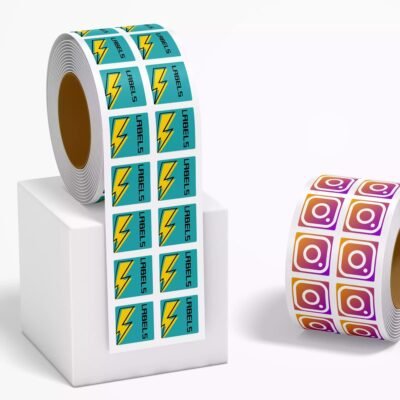
In today’s world, it’s easy to create custom labels at home. Canva gives you a simple way to design professional labels for your business or personal projects. You can add your own artwork, text, and colors, and then print exactly what you see on your screen. Here’s how it works, from start to finish.
Why Use Canva for Label Design?
Canva is a user-friendly tool that offers loads of ready-made label templates. You can choose from different sizes and layouts, then drop in text, graphics, and images without fuss. You’ll also find free and premium design elements that can make your labels stand out. This means you can create packaging labels, address labels, name tags, or jar labels without needing any special design skills.
Step 1: Design Your Label in Canva
- Start a New Design. Log in to Canva and pick “Create a design.” Search “label” or set a custom size to match your needs.
- Customize the Template. Pick a layout you like or make your own from scratch. Change fonts and colors, add text, and upload your logo.
- Use High-Resolution Graphics. Make sure your images and icons are at least 300 DPI to keep the prints sharp.
- Proofread and Review. Check spelling and layout. Keep important design elements inside a safe zone to avoid cutting off anything when printed.
Step 2: Download Your Design for Printing
- Choose the Right File Format. When your label looks good, click “Share” and choose “Download.” Pick “PDF Print” for the best quality. Turn on “Crop marks and bleed” so you can trim labels accurately.
- Test Print at Home (Optional). If you want, print a sample to see how colors and sizing turn out. Make changes in Canva if needed.
Step 3: Choose a Professional Printing Company
You can print labels at home, but for a more polished look and better materials, consider a professional printer. Here are three popular options:
- CustomLabelCo.com. They offer many materials, like waterproof or matte finishes. They’re a solid choice if you need labels in smaller batches or large quantities.
- CustomStickers.com. They focus on vinyl labels that last and can handle weather and wear. If you need durable labels for bottles or outdoor items, they can help.
- YouStickers.com. Known for bright, full-color prints and die-cut labels. They give free proofs and have affordable pricing. Great for branding or decorative projects.
Step 4: Upload and Print Your Labels
- Upload Your Design. Head to the printing company’s website and find the upload page. Send them your PDF file with bleed and crop marks. Choose the size, finish, and material you want.
- Review Proofs. Many printers will send a digital proof. Check color and layout details. Approve it when everything looks correct.
- Select Quantity and Shipping. Decide how many labels you need. Order a few extras just in case, then pay and wait for them to arrive.
Tips for the Best Printing Results
Use high-quality materials if the labels might get wet. Make sure you design with enough bleed, so you don’t end up with white edges after trimming. Pick the right adhesive for your application. If the label will face heat or moisture, you need something sturdy.
Conclusion
Designing labels in Canva and printing them professionally is a straightforward process. Canva lets you craft the exact look you want, while a good printing service ensures durability and sharp colors. Whether you’re branding products or organizing your pantry, following these steps makes it easy to create labels that match your vision.

