TLDR
For a reliable water bottle label, measure the bottle’s usable straight-sided panel, choose the material and adhesive for the expected moisture exposure, and apply the label to a clean, dry bottle before refrigeration. Do not assume that a label described as water-resistant will tolerate an ice bucket or prolonged submersion. Test finished bottles under their actual storage and serving conditions before ordering at scale.
Start with the bottle and its real environment
Before choosing a label, answer five questions: What surface must it stick to? What environment will it experience? Will it be applied by hand or machine? How many bottles are involved? What must the printed design communicate and survive?
Those answers matter more than bottle volume alone. Two 16.9-ounce bottles can have different ribs, tapers, recessed panels and shoulder geometry. A label sized from a generic template may bridge a groove, climb onto a curve or wrinkle where the bottle diameter changes.
Identify the largest smooth, reasonably cylindrical area first. Avoid molded seams, heavy texture, deep ribs and compound curves where possible. Surface irregularities and rigid label constructions can reduce contact between the adhesive and bottle, while bottle geometry affects whether the label can conform cleanly. For a detailed measuring process, use this guide to measure a bottle for a label without guessing.
Measure the usable label panel, not just the circumference
Measure the vertical height of the straight-sided panel and keep the label clear of the shoulder and base transitions. Then wrap a flexible tape or paper strip around the intended position to find the circumference. Measure several bottles if the containers are filled, capped or sourced in different production lots.
A full-wrap label does not always need an overlap. Leaving a small, intentional gap can be better than forcing the ends over each other, especially when an overlap would form a raised seam or make alignment difficult. Base the width on the actual container and usable panel rather than a nominal bottle size.
Print a paper mockup at actual size before finalizing artwork. Tape it in position and check the front-facing panel, seam location, barcode area and small text. Confirm that the label does not wrinkle when the bottle is lightly squeezed.
Choose a construction for condensation and storage
The correct construction depends on whether the bottle will remain dry, develop light condensation, sit in a wet cooler or spend hours submerged in ice water. “Water-resistant” and “waterproof” are not interchangeable: water-resistant labels are generally intended for splashes, light moisture and condensation, while waterproof constructions are intended for more sustained exposure. Even then, performance depends on the complete system—facestock, ink, coating or laminate, adhesive, bottle surface and application conditions.
| Expected use | Construction priority | What to test |
|---|---|---|
| Indoor event, served at room temperature | Clean application and scuff resistance | Handling, transport and short-term storage |
| Refrigerated bottle with condensation | Moisture-tolerant facestock, print protection and suitable adhesive | Refrigeration, condensation cycles and edge lifting |
| Wet cooler or ice bucket | Construction specified for sustained water exposure | Submersion time, ink stability, seam lifting and label movement |
| Flexible squeeze bottle | Conformable material and adhesive | Wrinkling, tunneling and lifting during repeated squeezing |
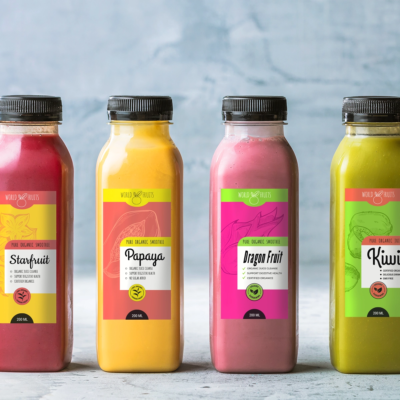
Paper can work for controlled, dry conditions, but film facestocks are often considered when moisture, abrasion or bottle flexing is expected. Clear film can create a minimal printed appearance, although transparent labels may require white ink behind text or graphics to preserve contrast. Always evaluate readability on the filled bottle rather than on a white screen.
When comparing custom labels, sticker materials, and artwork preparation options, describe the bottle material, refrigeration temperature, wet-storage conditions and application method. A generic request for a “waterproof bottle label” does not give a printer enough information to specify the job responsibly.
Apply labels before the bottles become cold and wet
Pressure-sensitive adhesives need close contact with the bottle surface. Cold temperatures can reduce initial tack, and water between the adhesive and bottle interferes with that contact. Avery Dennison’s technical guidance advises removing water where possible and applying sufficient wipe-down pressure.
For hand application, use this sequence:
- Keep bottles at the application temperature recommended for the selected adhesive; do not assume labels intended for refrigerated service should be applied to already chilled bottles.
- Make sure the label panel is clean and completely dry. Keep hands away from the adhesive and avoid introducing lint, oil or cleaning residue.
- Use a simple guide or fixture to hold every bottle at the same height and orientation.
- Tack one edge of the label in position, then smooth progressively across the bottle rather than pressing the entire label down at once.
- Apply firm, even pressure across the face and edges. Inspect the seam, corners and any area crossing a shallow contour.
- Allow the adhesive to establish contact before moving bottles into refrigeration or wet storage, following the material supplier’s stated conditions.
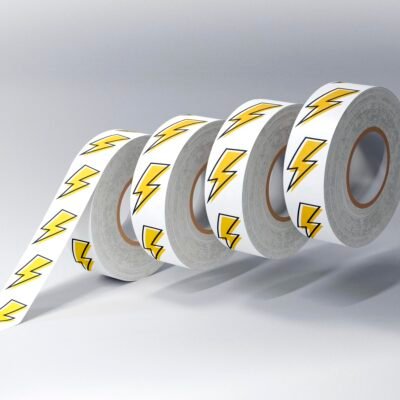
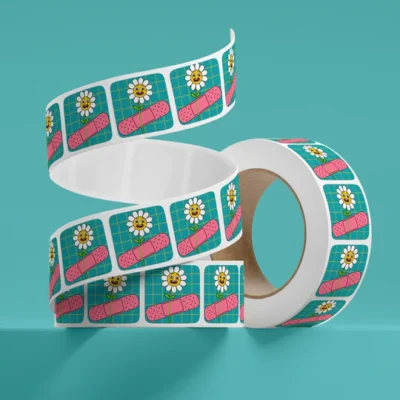
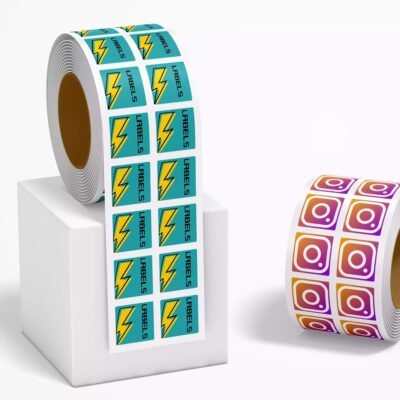
For larger quantities, roll labels can improve repeatability with a dispenser or applicator. Obtain the machine’s required core size, roll diameter, gap, winding position and unwind direction before ordering. There is no universal roll orientation that works with every applicator. Sheet labels remain practical for small hand-applied batches, prototypes and events.
Test refrigeration, coolers and transport before scaling
A label that looks perfect immediately after application can fail later through edge lift, bubbles, whitening, ink damage or seam movement. Test the proposed construction on the actual filled bottle. Bottle surface, adhesive, label stock and geometry all affect performance.
Build a small test that reproduces the complete workflow: application, dwell time, case packing, refrigeration, condensation, cooler exposure, transport and handling. Inspect bottles when cold, after they warm up and after repeated wet-dry cycles. Record where failures begin. That helps separate a sizing problem from an adhesive, material or application problem. The same test-before-scale approach is covered in the guide to testing small-batch packaging before a larger label order.
Commercial bottled water also has labeling rules
Event favors and decorative labels are primarily a production problem. Water sold as a packaged beverage adds a regulatory layer. FDA regulates bottled drinking water and distinguishes it from products historically regulated as soft drinks, including tonic water and seltzer. The agency also addresses flavored and nutrient-added waters. FDA’s bottled-water overview explains these categories and the manufacturer’s responsibilities.
For FDA-regulated packaged foods, the principal display panel generally carries the statement of identity and net quantity, with the net-quantity declaration generally placed in the bottom 30 percent of that panel. Liquid contents use the applicable fluid-measure declarations. Bottled water sourced from a community water system may also require a municipal-source statement, subject to the regulation’s exceptions. The bottled-water standard in 21 CFR 165.110 provides the controlling language.
A printer can produce the label but does not determine whether the copy complies with applicable law. Separate the material, sizing and application specification from regulatory review, and use current FDA requirements for the product being sold. The broader distinction is explained in this guide to food-label production decisions and FDA requirements.
The practical ordering checklist
- Measure the smooth, straight-sided label panel on the actual bottle.
- Decide whether the label needs to tolerate condensation, wet cooling or submersion.
- Confirm the bottle material and whether it is rigid, squeezable, smooth or textured.
- Choose sheet or roll format based on quantity and application method.
- Request the correct applicator specifications before ordering rolls.
- Test actual-size artwork for contrast, small text, seam position and scanability.
- Apply samples to clean, dry bottles and reproduce refrigeration, cooler and transport conditions.
- Resolve regulatory copy separately when the bottled water will be sold.
The best water bottle label is not simply the toughest available option. It is the construction that fits the usable panel, applies consistently, survives the bottle’s real environment and presents required information clearly. Measure first, apply under controlled conditions and prove the complete package with a small physical test before scaling.
References
- IT’S NOT JUST A LABEL: IT’S YOUR BRAND
- Z3338 Adhesive Technical Overview
- Difference Between Waterproof and Water-Resistant Labels | Avery
- FDA Regulates the Safety of Bottled Water Beverages Including Flavored Water and Nutrient-Added Water Beverages | FDA
- 21 CFR § 101.7 – Declaration of net quantity of contents. | Electronic Code of Federal Regulations (e-CFR) | US Law | LII / Legal Information Institute
- 21 CFR § 165.110 – Bottled water. | Electronic Code of Federal Regulations (e-CFR) | US Law | LII / Legal Information Institute