TLDR: Specify cleaning product labels as a complete package system, not as artwork alone. Start with the bottle material and geometry, then document filling conditions, moisture, leaks, chemical contact, abrasion and application method. Choose sheets or rolls around the production workflow, keep essential copy away from seams and flex points, and test production-representative labels on filled containers before ordering at scale. Treat disinfectant, hazard and environmental claims as separate compliance questions.
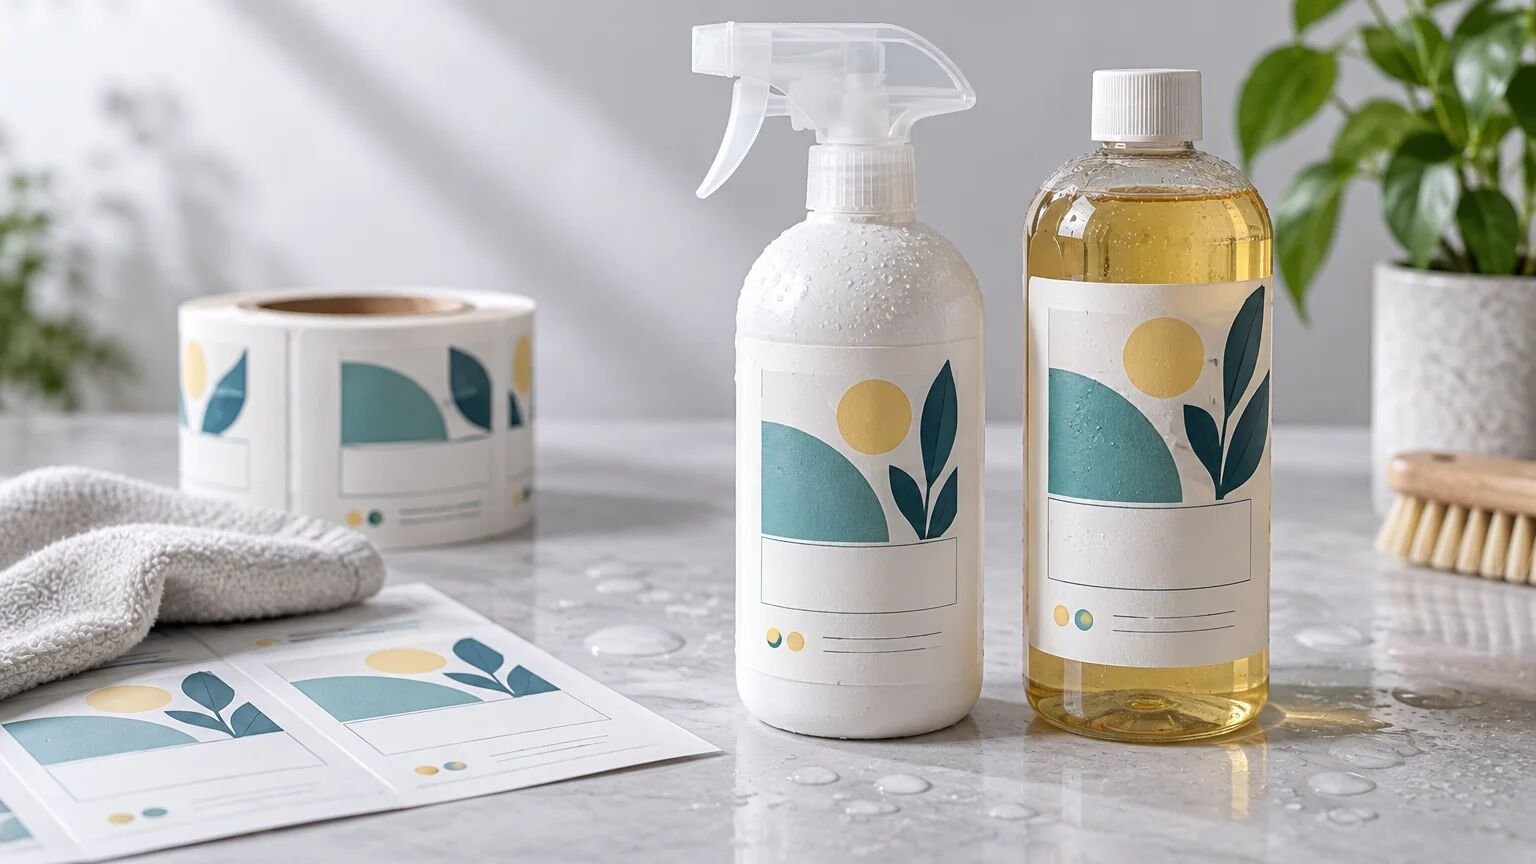
Cleaning product labels have a difficult job. A label may be applied to a smooth bottle in a controlled room, then handled with wet gloves, exposed to drips from the formula, stored beneath a trigger sprayer and rubbed against other containers in a shipping case. A design that looks correct on a monitor can wrinkle, lift, smear or become difficult to read once the complete package enters service.
The early answer is to ask five questions: What surface must the label stick to? What environment will it experience? How will it be applied? How many labels are needed? What must the design communicate and survive? Those answers determine the tradeoff among appearance, durability, application speed, production format and cost.
Start cleaning product labels with the package
Record the container material, finish and shape before creating the dieline. Glass, metal and different plastics do not present identical bonding conditions. Mold-release residue, dust, oil and condensation can also interfere with application. A label construction that works on one bottle should not be assumed to work on another merely because the containers look similar.
Geometry matters just as much as material. Find the genuinely usable label panel rather than measuring the bottle at its widest point. Cylindrical containers usually provide a predictable wrap, but tapered bottles can force a rectangular label to wrinkle or rise at an edge. Compound curves, ribs and recessed panels reduce the flat area available. Squeeze bottles add flexing, while shoulders, caps and trigger assemblies can obstruct the label or repeatedly drip onto it.
Create a package drawing that marks the label panel, vertical seam, shoulder transition, base radius, grip zones and any area covered by a trigger tube or cap. If a wrap label is planned, leave a deliberate gap or controlled overlap rather than discovering the seam during application. Place critical text and machine-readable codes on the most stable and visible section of the package.
Define the exposure before choosing a construction
“Moisture resistant” is not a complete specification. Occasional handling with damp hands is different from continuous condensation, immersion or repeated exposure to the product itself. List what can contact the label, how long contact lasts and whether the label will be wiped afterward.
- Application conditions: container temperature, surface cleanliness, whether the package is empty or filled, and the time available before packing.
- Service environment: indoor storage, refrigeration if applicable, damp utility rooms, transport heat and exposure to sunlight.
- Contact risks: water, cleaning formula, oils, solvents or other chemicals associated with actual use.
- Mechanical stress: rubbing in cases, repeated gripping, trigger drips, squeezing and contact with shelving.
- Required life: a short-use sample, a refill cycle or the package’s full expected service period.
The facestock is the printable label material; the adhesive bonds it to the container; and a laminate or varnish, when used, protects the printed surface. These layers must be assessed together. A protective top layer cannot correct an adhesive that is unsuitable for the container, and a strong adhesive does not prevent exposed print or label edges from being damaged.
Clear material can create an appealing printed-on-container appearance, but transparency changes artwork behavior. CustomLabels currently describes its clear roll labels as using a clear facesheet with permanent adhesive and identifies that product for indoor use. That listing does not establish compatibility with a particular cleaner, bottle or exposure condition. Confirm the current construction and test it on the intended package.
Choose sheets or rolls around the application workflow
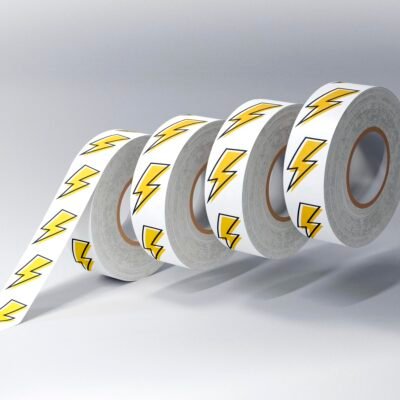
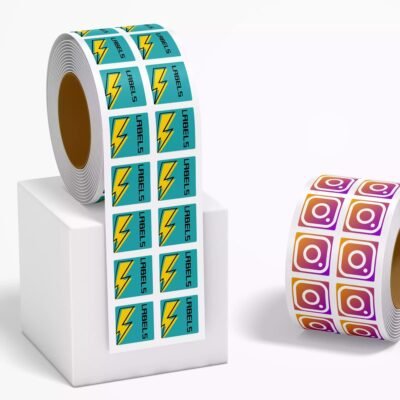
CustomLabels currently organizes label options into roll and sheet formats. The better format is determined primarily by how labels will be stored, picked and applied—not by appearance alone. The broader roll labels versus sheet labels guide explains the basic operational distinction.
Sheets for small or changing runs
Sheet labels are often convenient when operators apply labels by hand, quantities are modest or several SKUs change frequently. Sheets are easy to file with work orders and can reduce the setup involved in switching among scents, concentrations or package sizes. The tradeoff is that peeling and positioning each label may become slow or inconsistent as volume grows.
At the concept stage, use inexpensive mockups to check size, hierarchy and seam placement before specifying the final production construction. Short-run custom stickers for packaging mockups can support visual and fit checks, but they should not replace testing with the intended label construction.
Rolls for repeated application
Rolls can make labels easier to dispense and can support compatible semi-automatic or automatic equipment. They also introduce specifications that a buyer must obtain from the dispenser or applicator workflow. Confirm the required core size, maximum outside roll diameter, web width, gap between labels, winding arrangement and unwind direction. There is no universal unwind direction that fits every machine.
Variable lot, batch or date information also affects the workflow. Decide whether it will be printed as part of the main artwork, added by a secondary printer or applied in a reserved field. That decision may affect material selection, finish and the location of the variable area. Do not assume every coating or laminate will accept every secondary-printing method.
Plan artwork for reading, scanning and production
Build an information hierarchy before decorating the panel. Product identity and intended use should be easy to find. Directions, warnings, responsible-party information, traceability details and required regulatory copy need enough room to remain legible at final size. Decorative elements should not compete with safety-critical information.
Use the printer’s current template for the exact size and shape. Bleed extends artwork beyond the cut line so normal cutting variation does not leave an unintended unprinted edge. The safe area keeps important text and symbols inside the cut. Exact bleed and safe-area requirements are production-provider rules, so verify them rather than relying on a generic value.
Keep small text away from shoulders, deep curves, seams and squeeze zones. On a clear label, confirm how light text and brand colors will appear against the filled bottle. White ink may be needed to create opacity in selected areas when the chosen production process supports it. Without an opaque layer, the bottle and liquid can alter contrast.
Treat barcodes and QR codes as functional elements. Test them at final printed size, on the actual background and under realistic lighting. Curvature, glare, transparent areas, low contrast and seam placement can all make scanning less reliable. Reserve a separate area for lot or batch coding if operations require it, and do not use a QR code as a substitute for information that an applicable rule requires on the physical container.
Test the filled package before bulk production
A sample placed on an empty, freshly cleaned bottle is only an initial fit check. Conduct the meaningful pilot with production-representative containers, filling conditions and handling. The small-batch packaging test process is useful when a product is still moving from prototypes toward repeatable production.
- Condition the containers as they will arrive at the labeling station. Do not give test bottles exceptional cleaning unless that cleaning will be part of the real process.
- Apply labels using the planned hand method, dispenser or applicator. Record alignment, bubbles, wrinkles and edge behavior.
- Fill or use filled containers where safe and appropriate. Observe changes caused by temperature, bottle expansion, squeezing and condensation.
- Expose separate samples to realistic drips, wiping and case abrasion. Follow the cleaning product’s safety instructions when handling the formula.
- Check the labels after realistic dwell and storage periods, not only immediately after application.
- Scan every barcode or QR-code variation through the intended operational workflow.
- Document the exact bottle lot, label construction, application conditions and result so a successful test can be reproduced.
A failed test does not automatically mean the label material is defective. Isolate variables first: surface contamination, application temperature, container taper, label size, trapped air, insufficient dwell before handling, flexing or chemical contact at an exposed edge. Change one major variable at a time so the result is useful.
Compliance depends on the product and its claims
Print production and regulatory compliance are different layers. A printer can reproduce approved copy and manufacture a label, but the responsible manufacturer or brand owner must determine which rules apply to the formula, claims, market and jurisdiction. Ordinary household cleaners, workplace hazardous chemicals and products making disinfectant or antimicrobial claims may require materially different review.
Disinfectant and antimicrobial claims
In the United States, EPA regulates disinfectants as pesticides, and pesticide labeling forms part of the registration framework. Claims, directions and associated label content therefore need product-specific regulatory handling rather than being treated as flexible advertising copy. EPA’s pesticide labeling questions and answers provides an official starting point. Do not add terms such as “disinfects,” “sanitizes” or comparable antimicrobial claims merely because they seem commercially useful.
Workplace hazard communication
For shipped containers of hazardous chemicals covered by OSHA’s Hazard Communication Standard, required elements include a product identifier, signal word, hazard statements, pictograms, precautionary statements and responsible-party contact information. The exact obligations depend on the product and use context. Those requirements should be reviewed separately from the consumer-facing brand hierarchy, even when both must fit on the same package.
Environmental and certification claims
Broad claims such as “green” or “environmentally friendly” can imply benefits wider than the evidence supports. FTC Green Guides materials advise marketers to make environmental claims specific and substantiated rather than broad and unqualified.
EPA’s Safer Choice label is associated with products reviewed under the voluntary program’s criteria. An ingredient’s appearance on a safer-ingredient resource does not by itself establish that the finished product qualifies to display the program label. Certification marks, environmental claims and state-specific ingredient disclosures should all receive product-specific review before artwork approval.
Pre-production specification checklist
- Exact container material, supplier and production lot where relevant
- Usable label-panel dimensions and a package-aware dieline
- Bottle taper, ribs, compound curves, seams, squeeze zones and trigger-drip path
- Application temperature, surface-cleaning method and filled-versus-empty application
- Expected moisture, formula contact, abrasion, flexing, heat and storage conditions
- Facestock, adhesive, protective finish and liner confirmed for the quoted construction
- Sheet or roll format matched to the real application workflow
- For rolls: core, outside diameter, web width, label gap and unwind direction
- Final-size proof of text, symbols, contrast, clear-label effects and seam placement
- Barcode, QR-code and secondary-coding tests using production-representative samples
- Approved regulatory copy, claims, warnings, identifiers and disclosures
- A documented filled-package pilot completed before the bulk order
The practical next step
Begin with one production-representative bottle and a written exposure profile, not a preferred finish. Map the usable panel, identify likely failure modes, define the application workflow and then request an exact label specification. Approve artwork only after operational and compliance reviewers have resolved their respective parts. A controlled pilot on filled containers is the final checkpoint before scaling: it shows whether the label sticks, survives, applies consistently and communicates clearly on the actual cleaning-product package.
References
- Clear Roll Labels – CustomLabels
- Shop Labels – CustomLabels
- Pesticide Labeling Questions & Answers | US EPA
- 1910.1200 – Hazard Communication. | Occupational Safety and Health Administration
- Enviromental Claims: Summary of the Green Guides
- Safer Chemical Ingredients List | US EPA
- Safer Choice Standard and Criteria | US EPA
- www.epa.gov