TLDR: Choose pet product labels by answering five questions: What surface must the label stick to? What environment will it experience? How will it be applied? How many labels are needed? What must the design communicate and survive? Treat bags, shampoo bottles, supplement jars, and accessory packages create different demands. Match the complete label construction to the package, test it on filled production containers, and handle pet-food compliance as a separate review.
The best-looking label is still the wrong label if it wrinkles across a pouch fold, turns translucent from oil, lifts from a curved bottle, or leaves required copy unreadable. Start with the physical package and its journey. Appearance, durability, application speed, production format, and cost can then be balanced around real conditions instead of a finish name or screen mockup.
What counts as a pet-product label?
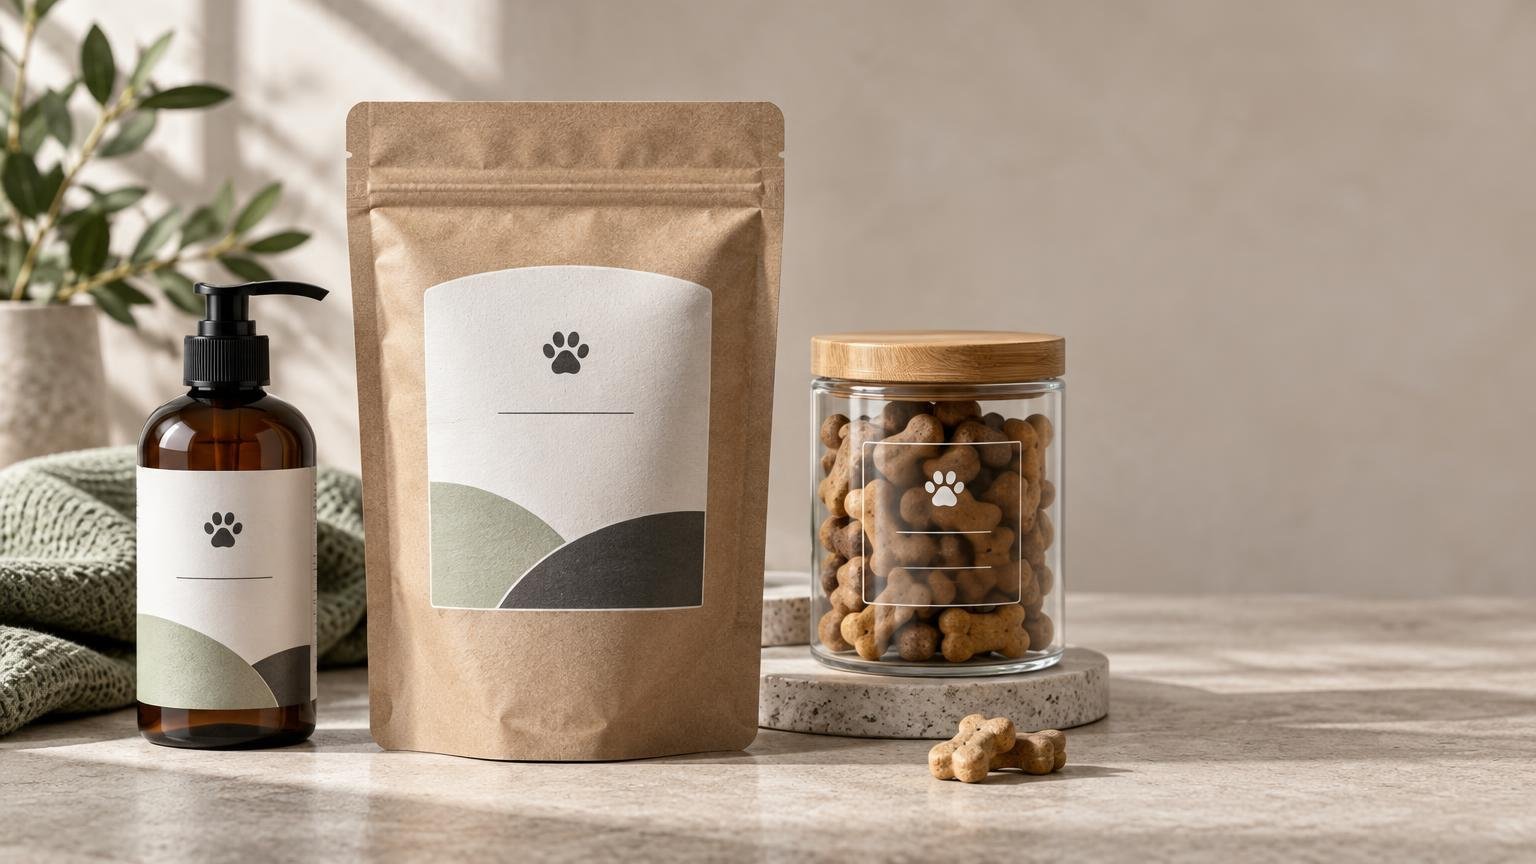
The category spans products with very different packaging and legal considerations. Dry treats may come in flexible zipper pouches, paper bags, jars, or metal tins. Supplements and chews often use rigid plastic tubs. Grooming products can arrive in squeeze bottles, pump bottles, jars, or wipe canisters. Toys, collars, bowls, and other accessories may use paperboard boxes, hang tags, belly bands, or poly bags.
Do not assume that guidance for pet food automatically applies to shampoo, flea and tick products, toys, collars, or supplements. Product category, claims, ingredients, intended use, and selling jurisdiction can change which authorities and rules matter. A pet-accessory launch may also use custom stickers for box seals or promotional extras, but those should not replace package labeling needed to identify or explain the product.
Start with the container and use environment
Before comparing materials, document the package as it will actually be labeled. Identify whether the surface is glass, metal, paperboard, rigid plastic, or flexible film. Note whether it is smooth, textured, coated, squeezable, sharply curved, or tapered. Adhesion to a clean glass jar does not establish performance on a flexible pouch or a low-surface-energy plastic bottle.
Next, map the package environment. Dry treats stored indoors may need resistance mainly to handling and abrasion. A refrigerated food container can develop condensation. Treats containing oils may expose the label or its edges to grease. Shampoo bottles face wet hands, bathroom humidity, drips, squeezing, and repeated handling. Products shipped through ecommerce may rub against cartons, inserts, and other containers.
| Package or use | Main label challenge | Useful starting direction | Test before scaling |
|---|---|---|---|
| Dry-treat pouch | Folds, zipper area, changing panel shape | Keep the label on a broad, stable panel and away from seals | Flexing, edge lift, scuffing, and readability when filled |
| Rigid jar or tub | Curvature and possible oily handling | Measure the straight wall and compare paper-oriented and film constructions | Seam alignment, adhesion, oil exposure, and repeated opening |
| Grooming bottle | Water, drips, squeezing, and frequent handling | Evaluate a film construction and protective finish suited to the actual exposure | Wet handling, abrasion, flexing, and edge lift |
| Accessory carton or bag | Textured or coated surfaces and variable package shapes | Test adhesion on the production package rather than a sample substrate | Bond, corner lift, rub resistance, and removal behavior if relevant |
“Glossy,” “matte,” and “clear” describe appearance but do not, by themselves, specify the facestock, adhesive, coating, liner, or tested durability. Evaluate the whole construction. Even a durable facestock can fail when the adhesive is mismatched to the surface, the label crosses a compound curve, or it is applied to a container carrying dust, oil, or condensation.
Choose sheet or roll labels around production
Sheet labels often make sense for prototypes, low quantities, several product variants, or frequent artwork changes. They are convenient for hand application because multiple labels arrive on flat sheets, although efficiency declines when an operator must peel and align hundreds of labels one at a time.
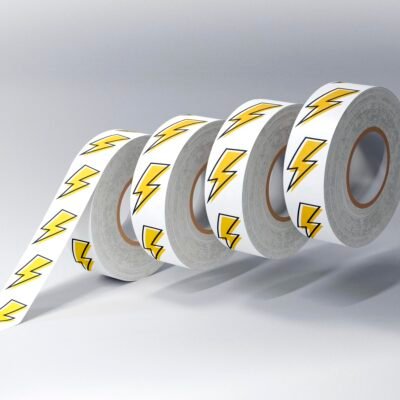
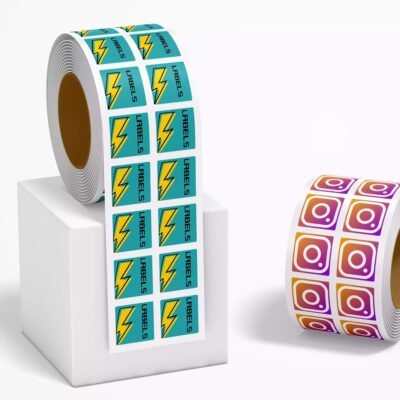
Roll labels are usually easier to dispense during recurring production and may support compatible machine application. CustomLabels lists both sheet and roll offerings, while its roll-label information discusses hand and machine application options; the configuration available for a specific order still needs to be checked on the applicable product page. For a deeper production comparison, see roll labels versus sheet labels.
Machine application requires more than ordering labels on a roll. Obtain the applicator’s required core size, maximum roll diameter, web width, gap between labels, liner requirements, winding direction, and unwind orientation. Confirm whether the machine senses gaps, registration marks, or another feature. There is no universal roll orientation that works for every bottle, label shape, and applicator.
Quantity also affects the decision. A small sheet run can reduce inventory risk while a brand tests flavors, claims, package dimensions, or retail response. Once the package and artwork stabilize, rolls may improve dispensing speed and repeatability. The cheapest unit price is not necessarily the lowest operating cost if application is slow or labels are wasted through poor alignment.
Match the construction to package conditions
A paper-oriented label can provide a tactile or traditional appearance for a dry, indoor package, but its suitability depends on the exact paper, coating, adhesive, and expected contact with moisture or oil. Film facestocks are often evaluated for demanding packages because they do not behave like unprotected paper when exposed to water, squeezing, or abrasion. That is a direction for testing, not a universal durability guarantee.
For a demanding roll-label application, CustomLabels describes its Durable Roll Labels as a plastic-based BOPP construction with permanent adhesive. The product page states that this specific construction is waterproof, heatproof, resistant to UV fading, oil-resistant, and abrasion-resistant. Those claims belong to that product rather than every BOPP label or every label sold on the site, and current specifications should be confirmed for the intended order.
Testing must reproduce the service conditions. Apply labels to the actual production containers, ideally after filling if filling changes temperature, surface contamination, pressure, or package shape. Let the adhesive build its bond under the supplier’s stated conditions, then expose samples to expected refrigeration, condensation, oil, wet handling, squeezing, rubbing, shipping, and storage.
A label applied to the outside of food packaging is not automatically approved for direct food contact. If any part of the construction could contact the product, verify the full package design and obtain the documentation appropriate to that use rather than inferring suitability from a label’s marketing category.
Use clear labels deliberately on bottles and jars
Clear pet product labels can let the product, bottle color, or jar contents participate in the design. That effect works best when the background remains predictable. A pale shampoo, mixed-color treats, air bubbles, fill-level changes, or a tinted container can alter contrast behind transparent artwork.
White ink creates opacity under selected artwork on a transparent label. It can support readable text, preserve a logo’s intended colors, or produce an opaque panel while leaving other areas clear. Without white ink, printed colors may look more translucent and may shift visually with the package contents.
CustomLabels states that its Clear Roll Labels include glossy transparent and matte or frosted-clear options, white-ink printing, and permanent adhesive, with listed compatibility for metal, plastic, and glass. The page describes this product as water-resistant and intended for indoor use. Do not broaden “water-resistant” into “waterproof” or assume compatibility with every plastic formulation without testing.
Compare clear and opaque samples on the filled package, not against a white computer screen. This guide to clear and white BOPP labels explains how package color, opacity, and white ink affect the choice.
Build artwork around usable label space
Measure the stable labeling panel rather than the container’s total height or circumference. Bottle shoulders, tapered walls, recessed areas, jar rims, pouch gussets, zipper tracks, heat seals, and dispensing features reduce usable space. A label that extends into these areas may wrinkle, bridge over a recess, or lift at its edges. For rigid containers, measure the bottle’s usable label panel before finalizing the dieline.
On a flexible pouch, fill a production sample before choosing the label dimensions. An empty pouch lies flatter than a filled one, and the available front panel can change as the bottom gusset opens. Keep the label away from folds and the zipper. If the pouch must be opened repeatedly, confirm that the label does not obstruct the opening or hide information when the package changes shape.
Establish an information hierarchy before adding illustrations or decorative texture. Product identity, intended species or use, quantity, directions, warnings, ingredient or other required information, responsible-company details, and lot or date coding may compete for limited space. Which elements are legally required depends on the product category and jurisdiction, but mandatory and safety-critical copy should not be squeezed into whatever space remains after decoration.
Keep important text and logos inside the printer’s safe area, which is the zone protected from normal cutting variation. Extend background colors and images through the bleed beyond the cut line so slight die-cut movement does not expose an unintended white edge. Use the current template and prepress specifications for the exact label rather than applying a generic bleed measurement.
Check small text, barcodes, and QR codes at final size
Review artwork at its final printed dimensions. Fine copy that looks comfortable while enlarged on a monitor can become cramped on a two-inch jar label. Contrast also changes on clear, metallic, dark, or visually busy packages. Print a size-accurate paper mockup, wrap it around the package, and inspect it under typical retail and household lighting.
Barcode and QR-code performance depends on more than exporting a technically valid file. Curvature, glare, low contrast, transparent backgrounds, distortion, quiet space, print quality, and package flexing can all affect scanning. Place codes on the flattest practical area, preserve the required surrounding clear space, and test printed samples on the filled package with multiple representative devices or scanners.
Variable lot, batch, or date information needs a production plan as well. Decide whether it will be printed as part of the label, added with variable-data printing, or applied later by another coding process. Reserve a clear area with enough contrast and confirm that the later printing method adheres to or remains legible on the chosen finish.
Pet-food compliance is separate from print production
For products sold in the United States as pet food or treats, label compliance requires its own workflow. The FDA’s pet-food guidance says animal food must be safe, produced under sanitary conditions, contain no harmful substances, and be truthfully labeled. FDA identifies baseline label information that includes product identification, net quantity, the manufacturer’s or distributor’s name and place of business, and ingredients listed in descending order by weight. Other requirements can apply to the product and market.
Federal information is only part of the picture. The Association of American Feed Control Officials’ labeling guidance explains that pet-food labels are regulated at federal and state levels. AAFCO develops model language and guidance, but it does not regulate, approve, certify, endorse, or review individual labels. State authorities may conduct label review or approval under their own feed laws and regulations.
AAFCO’s startup guidance describes eight required pet-food label items and says that, for a front-and-back label arrangement, the principal display panel must carry the brand or product name, intended species, and quantity statement. Exact layout and content should be reviewed for the product and every jurisdiction where it will be sold.
Claims deserve special attention. FDA discusses the review of certain pet-food claims, while AAFCO warns that language suggesting a purpose beyond taste, aroma, or nutritive value can become a drug claim and may be unacceptable on an animal-feed label. Terms such as “human grade” or “natural,” veterinary references, disease-related statements, origin claims, and health promises should not be added because they fit the front panel. They need category-specific substantiation and regulatory review.
AAFCO’s Pet Food Label Modernization initiative also should not be treated as one universal federal transition date. AAFCO says implementation occurs through state rulemaking and recommends a six-year manufacturer transition period as states adopt the model regulations. Confirm the current status in the states where the product is distributed.
These pet-food points do not automatically govern grooming products, supplements, flea and tick products, toys, or accessories. Determine how the product is categorized and which agency or authority has jurisdiction. A print provider can reproduce approved artwork, but it does not determine whether the claims or labeling satisfy applicable law.
Proof, test, and then scale
A digital proof can catch spelling, content, color setup, cut-path, and positioning problems, but it cannot demonstrate adhesion or package fit. Use a physical sample or short run to test the entire system: label construction, container, filling process, application method, storage environment, shipping, and customer handling. Small-batch package testing is especially useful when dimensions or artwork are still changing.
- Confirm the production container, including its material, coating, curvature, texture, and usable label panel.
- Review every copy element separately for accuracy, hierarchy, jurisdiction, and claim risk.
- Apply samples using the planned hand or machine process; record surface-cleaning and application conditions.
- Fill and close the package, then inspect wrinkles, bubbles, seam alignment, edge lift, and interference with zippers, pumps, caps, or lids.
- Expose samples to realistic moisture, oil, refrigeration, squeezing, abrasion, shipping, and storage conditions.
- Inspect small text under normal lighting and test every barcode or QR code on the final package.
- Approve the construction and dimensions before increasing quantity; preserve a labeled sample as the production reference.
Choose the label around the package, not the mockup
A reliable pet-product label starts with the actual container, service environment, application method, quantity, and information burden. Use sheets when flexibility and small-run handling matter; evaluate rolls when repeat production or dispensing matters. Compare complete constructions rather than relying on finish names, and test clear artwork, white ink, small copy, and codes against the filled package.
For pet food and treats, run regulatory review alongside packaging development rather than after the design is finished. Once the copy is approved and physical samples survive realistic handling, the brand can scale with much greater confidence that the label will stick, remain readable, apply consistently, and communicate what the package needs to say.