TL;DR
Use one or two repeatable sticker placements to turn plain stock packaging into a consistent brand system. Start with the package surface and environment, then choose a material, adhesive, finish and supply format that fit the job. Keep logos and decorative seals separate from legally required product information, and test finished packages before ordering at scale.
Low-cost branding does not mean putting the cheapest paper sticker on every package. It means spending where the customer notices it and avoiding unnecessary custom packaging. A well-specified sticker can brand a plain carton, mailer, jar, pouch, tissue wrap or shopping bag while allowing the underlying packaging to remain useful across several products.
Start with five packaging questions
Before designing the sticker, define the job. What surface must it stick to? What moisture, oil, abrasion, refrigeration or handling will it experience? Will people apply it by hand or with equipment? How many are needed? What must the design communicate and survive?
These answers control the tradeoff among appearance, durability, application speed and cost. A decorative seal on a dry paper bag has a different job from a product label on a refrigerated glass bottle. Paying for maximum durability on the first application may waste money; using an unsuitable construction on the second may produce lifting edges, wrinkles or unreadable information.
Build a simple sticker branding system
A small brand rarely needs a different custom package for every item. Start with neutral boxes, bags, mailers or containers, then create a small family of adhesive pieces that can be mixed as needed.
- Primary brand sticker: Place a logo and short brand identifier where it will be seen first.
- Product or variant label: Add the product name, scent, flavor, size or batch-specific information.
- Closure seal: Bridge tissue, a bag fold or a box opening when the construction and placement allow it.
- Shipping-box sticker: Add recognizable branding to the outer package without replacing the carrier label.
- Insert or thank-you sticker: Use it as a customer-facing extra rather than relying on it for required product information.
Stickers and labels can overlap physically, but their jobs differ. A sticker often centers on one logo or graphic, while a product label carries identification, directions or other details. A branding sticker can therefore complement an information label rather than replace it. For a fuller terminology breakdown, see the difference between stickers, labels and decals.
Choose placements that look intentional
Consistency creates more brand recognition than covering every surface. Pick one primary position and use it across the product line. That could be the center of a mailer lid, the upper third of a pouch or the front of a jar. Keep the sticker away from seams, sharp folds, closures and strongly curved areas unless it was designed and tested for that location.
| Placement | Useful role | Main production concern |
|---|---|---|
| Front of a plain box or pouch | Primary logo and product identity | Leave enough contrast and avoid folds or gussets |
| Tissue or bag closure | Brand moment during opening | Test whether opening tension tears the package or releases the sticker |
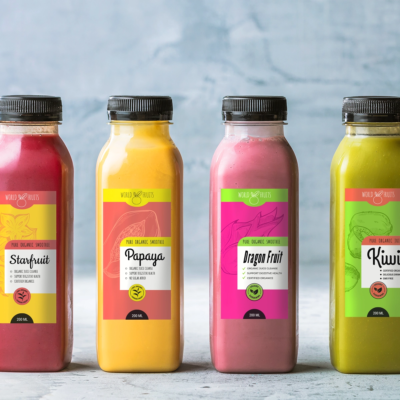
| Bottle or jar | Product identity or variant information | Measure curvature and test for moisture, oil and edge lift |
| Outer mailer or carton | Visible shipping-stage branding | Keep clear of carrier labels, tape paths and box seams |
Measure the actual usable area instead of choosing a size from a design-tool default. Containers with taper or compound curves may need a smaller label than their apparent front panel suggests. Print a paper mockup at final size, cut it out and place it on the package before ordering.
Match the material and finish to the package
Paper can be an economical choice for dry cartons, bags, tissue and indoor applications. A film construction may be more appropriate when the label will face condensation, frequent handling, oil or flexing. The exact adhesive matters as much as the facestock—the printable top layer people see.
Surface preparation is part of the specification. The Avery Dennison adhesive-selection guidance explains that dirt, oil, moisture, condensation and low-surface-energy substrates can reduce adhesive bonding. Pressure-sensitive labels need firm application pressure and direct contact with the package rather than a layer of moisture. Apply test labels to clean production packages, then expose them to the real storage and handling cycle.
Finish sets the visual tone. Matte can create a subdued presentation, gloss can increase shine, clear material can leave the package visible, and holographic material can make a limited accent prominent. Clear stock may also require white ink beneath parts of the artwork when opacity or accurate color is important. Material and finish availability should be confirmed for the exact product being ordered.
For a focused material comparison, read vinyl stickers versus paper labels for small-business packaging. If a separate branded sticker is the right format, CustomStickers provides custom stickers, labels, vinyl materials and artwork-preparation services; view options after defining the required size and application conditions.
Use sheets for flexibility and rolls for repeatable application
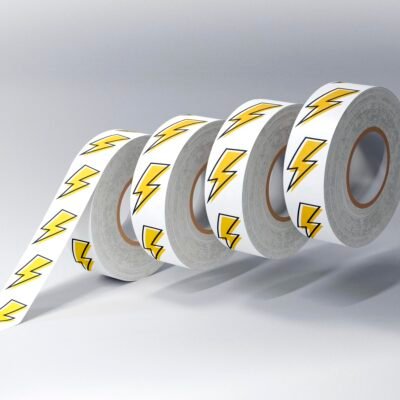
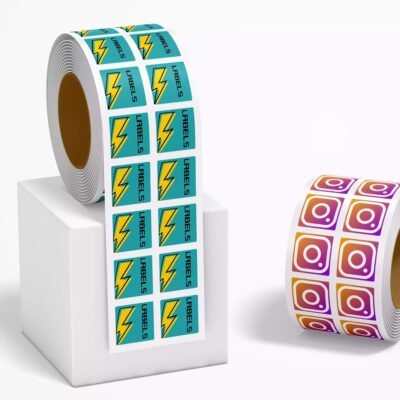
Sheet stickers are convenient for small runs, several designs and hand application at a packing bench. Rolls become useful when one design is used repeatedly, labels must dispense quickly or an applicator is involved. CustomLabels currently lists both sheet and roll formats, along with printed and blank-label workflows.
Machine application requires more than ordering “labels on a roll.” Confirm the core size, roll width, gap between labels, winding direction and which edge must dispense first. Obtain those requirements from the applicator or packing-line workflow before approving production. For an early product launch, test small-batch packaging before scaling into a larger and more standardized order.
Design for recognition at the final printed size
A low-cost sticker works when the message is edited ruthlessly. Give the logo, product name or short statement enough space to be recognized quickly. Maintain contrast, keep important elements inside the safe area and extend background artwork through the required bleed so normal cutting variation does not create an unintended white edge.
If the sticker includes a barcode, do not squeeze it into leftover space. GS1 US barcode guidance calls for suitable print quality, dark bars against light spaces, clear quiet zones and careful sizing. GS1 also notes that curved packages can create scanning problems. Generate and test the final barcode rather than treating it as decoration.
Keep branding separate from compliance
A logo seal, thank-you sticker or shipping-box sticker does not replace required product labeling. For many household consumer commodities covered by the Fair Packaging and Labeling Act, the FTC summarizes baseline requirements that include product identity, responsible-business information and net quantity. FDA administers applicable requirements for foods, drugs, cosmetics and medical devices, while other product categories can involve additional federal or state rules.
For food packages, FDA guidance places the statement of identity and net quantity on the principal display panel under the applicable rules. Its cosmetics guidance likewise identifies principal-display and information-panel content and requires mandatory information to be prominent and readable. A printer can produce both branding and information-bearing labels, but the seller remains responsible for determining which rules apply.
Test one finished package before scaling
The most economical system is usually plain stock packaging plus a small, disciplined set of stickers or labels. Standardize the size and placement, vary only the information that needs to change, and upgrade the construction where the environment demands it. That approach keeps early packaging flexible without making the finished product look improvised.
References
- High Quality Custom Labels – Fast and Free Shipping
- Considerations During Adhesive Selection
- Shop Labels – CustomLabels
- Barcode Placement & Printing Guidelines | GS1 US
- Get Your UPC-A Barcode| GS1 US
- Fair Packaging and Labeling Act: Regulations Under Section 5(c) of the Fair Packaging and Labeling Act | Federal Trade Commission
- Food Labeling Guide
- Cosmetics Labeling Guide | FDA