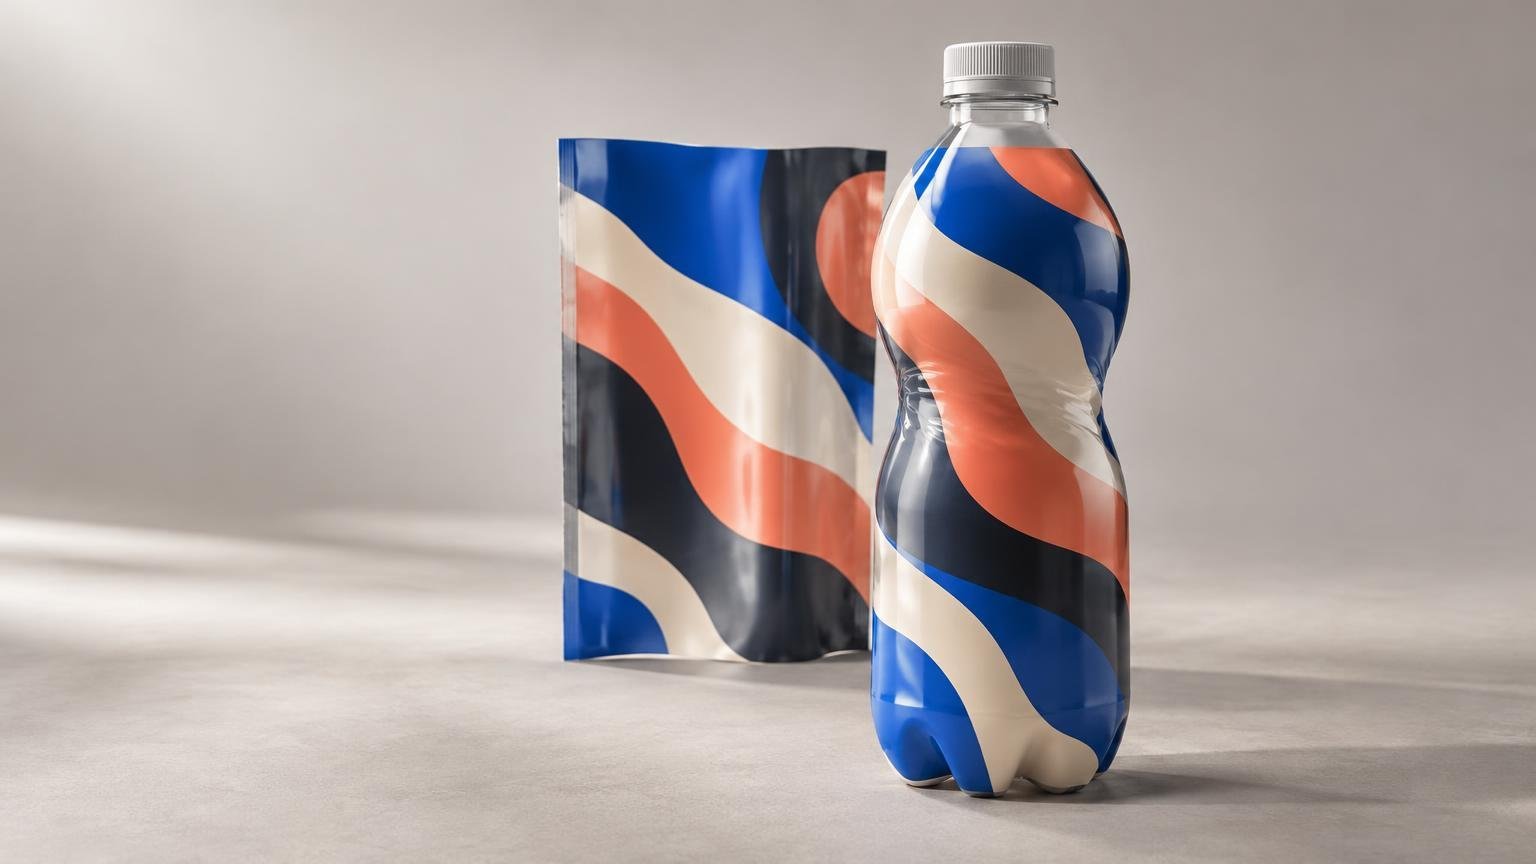
Custom shrink sleeve labels are useful when a package needs decoration across its body, shoulder or other contoured areas that a conventional pressure-sensitive label cannot cover cleanly. The sleeve starts as printed heat-shrinkable film, is placed over the container and then contracted around its shape with controlled heat. That process creates the coverage, but it also makes container geometry, film selection and artwork distortion inseparable parts of the specification.
TLDR
- Treat a shrink sleeve as a formed package component, not as a standard adhesive label with extra coverage.
- Choose the film and shrink characteristics around the container’s actual curves, recesses and diameter changes.
- Build artwork on the converter’s production template and distortion model rather than a flat label outline.
- Keep small text, barcodes and critical brand elements away from seams, folds and severe shrink zones.
- Test the printed sleeve on production containers using the intended application and heat process before approving a full run.
Start with the package, not the artwork
A useful sleeve specification begins with five questions: What surface and container must it fit? What environment will the finished package experience? How will the sleeve be applied? How many units are required? What information and graphics must remain legible after shrinking?
Unlike an adhesive label, a shrink sleeve does not depend on an adhesive layer to follow the container. It depends on a film engineered to contract when heated. High-shrink films can accommodate more heavily contoured bottles, while medium-shrink constructions may suit containers with less dramatic curves. Film families and individual constructions have different shrink characteristics, so material names alone do not establish compatibility. Avery Dennison’s shrink-sleeve overview illustrates how film selection changes with contour and required shrink.
Ask the container supplier for a current drawing and provide physical production samples to the sleeve converter. Measure more than the nominal diameter. Shoulders, waists, grips, recessed panels, neck transitions and base geometry can create different shrink demands across one package. Even nominally identical containers may have manufacturing tolerances that affect sleeve position and appearance.
Why full-body coverage creates distortion
A flat graphic will not remain visually unchanged when different parts of the film contract by different amounts. Areas around a narrow waist may shrink more than a relatively straight sidewall. Circles can become ovals, straight lines can appear curved and type can compress. This is why sleeve artwork commonly requires pre-distortion: selected elements are intentionally altered in the print file so they look correct after application.
The converter should create or approve the distortion model using the chosen film, container geometry and application process. A generic bottle template is not enough. The same artwork may behave differently after a change in resin, bottle profile, sleeve construction or heating conditions.
Use a physical decorated prototype to judge the result from normal viewing angles. Check whether the logo faces forward, whether important copy crosses into a high-distortion area and whether graphics remain aligned with molded container features. A rotating digital rendering can help with review, but it does not replace a shrunk sample.
Build artwork around layflat, cut length and seams
Shrink-sleeve files are generally organized around the sleeve’s layflat width and cut length. Layflat is the width of the flattened tube; it is not the same measurement as the container circumference. Artwork also has to account for the longitudinal seam, folds, trim areas, clear zones and the direction of shrink. Avery Dennison’s technical bulletin on shrink-sleeve construction and artwork shows why these production details must be resolved with the selected material and converter.
Do not copy minimum type sizes, seam allowances or clear areas from an unrelated specification. For example, one documented co-polyester construction uses particular top, bottom and side clear zones and type minimums, but those values are construction-specific rather than universal rules. Use the final production template supplied for the actual sleeve.
During prepress, review these elements individually:
- Seam position: place it away from the primary display panel and critical copy where practical.
- Distortion zones: move faces, round logos, fine patterns and small text toward more stable areas.
- Bleed and clear areas: follow the converter’s current template rather than extending graphics by guesswork.
- White ink: specify where opacity is needed on clear film, particularly behind light colors or barcodes.
- Registration: allow realistic tolerances where colors, white ink and container features must align.
- Finish and abrasion: evaluate how transport, filling, packing and consumer handling will affect the printed surface.
Protect barcode performance after shrinking
A barcode that scans in the flat proof can fail after it wraps around a curved package or passes through a severe distortion zone. GS1 US says barcode quiet zones must remain clear, dark bars need a light background, and codes should be kept away from seams, folds, die-cuts and areas likely to distort. Its barcode placement and printing guidance also addresses orientation on curved packages.
Place the code in the straightest, most stable panel available. Then verify it on the finished, filled and shrunk package—not only on a screen or unshrunk press sheet. Test samples across the production run and from multiple package positions. If a QR code is included, test that separately at its final size under realistic lighting and curvature.
Application is part of the label specification
Sleeve production extends beyond printing. The workflow can include web handling, static control, slitting, seaming, cutting, sleeve placement and controlled shrinking. Temperature exposure and dwell time influence how the film contracts, so the applicator and heat tunnel must be matched to the package and sleeve construction.
For a small pilot, ask who will apply the sleeves, what equipment will be used and whether the trial reproduces the planned production process. A hand-applied sample shrunk with improvised heat may reveal basic artwork problems, but it may not predict the consistency of an automated steam or hot-air system. Conversely, a sleeve developed around one tunnel setup may need adjustment when production moves to another line.
Run a controlled packaging test before scaling. The process in this guide to testing labels on small-batch products applies here as well: use the real container, fill conditions, storage environment, transport method and application workflow. Inspect for wrinkles, trapped air, uneven shrink, panel rotation, scuffing and loss of legibility.
When a pressure-sensitive label is the simpler choice
Full-body coverage is not automatically better. A pressure-sensitive roll label may be easier and less costly to introduce when the container has a broad, straight labeling panel and the project does not require decoration around the shoulder or base. It also avoids the sleeve-seaming and heat-shrinking stages.
Clear pressure-sensitive labels can create a reduced-label appearance on smooth glass, metal or plastic, but they remain adhesive labels and do not provide the formed coverage of a shrink sleeve. For projects that return to this conventional route, CustomStickers is one place to compare custom sticker and label formats. The broader distinction between identification, branding and package information is covered in this guide to the roles of a product label.
Keep printing approval separate from compliance
A printer’s artwork proof confirms production details such as content placement, color setup and cut or seam positioning. It is not regulatory approval. In the United States, general consumer-package labeling commonly addresses product identity, the responsible party and net quantity, while federal, state and product-specific rules may add further requirements. NIST’s packaging and labeling FAQ provides an overview of that framework.
Food packages may also be subject to FDA requirements under applicable food-labeling laws and regulations. The FDA states that it does not pre-approve food labels and that manufacturers and importers are responsible for keeping current with applicable requirements. FDA’s Food Labeling Guide is a starting point, but the rules for the actual product and market control.
A practical ordering checklist
- Supply the exact production container, its drawing and relevant dimensional tolerances.
- Describe filling temperature, refrigeration, moisture, abrasion, transport and storage conditions.
- Confirm the sleeve film, shrink range and compatibility with the container profile.
- Identify the application equipment, tunnel type and expected line conditions.
- Obtain the final layflat, cut-length, seam and distortion template before finishing artwork.
- Keep critical text and codes out of the seam and severe distortion zones.
- Approve a physically shrunk prototype and verify barcodes on the finished package.
- Document the approved container, film, artwork revision and application settings before scaling.
The decisive step is testing the complete system. A strong custom shrink sleeve label is not merely attractive when flat; it fits the production container, survives the application process, keeps required information legible and remains consistent when the job moves from prototype to repeatable packaging production.