TLDR
Spot varnish applies a clear coating to selected parts of a label rather than covering the entire surface. It works best when a glossy logo, pattern, border, or product name contrasts with a less reflective background. Keep the effect deliberate, supply the varnish area as a separate artwork layer, and obtain the printer’s current rules for line weight, spacing, registration, material compatibility, and file naming. Before scaling, test the complete label construction on the real package under expected moisture, abrasion, temperature, and application conditions.
Start with the label, not the effect
Selective gloss can make a simple label feel more dimensional without adding another ink color. That does not mean it belongs on every design. Before preparing artwork, answer five questions: What surface must the label stick to? What environment will it experience? How will it be applied? How many labels are needed? What information and visual elements must survive?
Those answers determine whether spot varnish is a sensible finish or an embellishment that complicates production. A flat paperboard box, smooth glass bottle, flexible pouch, and small-diameter tube impose different demands on the facestock, adhesive, coating, and artwork. Buyers still deciding on the base construction should first compare paper labels and film-based options rather than choosing a finish in isolation.
Spot varnish and spot UV are related, not interchangeable
A spot varnish is a clear coating printed only in designated areas. “Spot UV” usually describes a selectively applied coating cured with ultraviolet energy, but printers may use different varnish chemistries, curing systems, film weights, and production methods. Marabu’s technical data for UV varnishes distinguishes products intended for full-area or spot use from varnishes designed for other effects and applications. Ask what the quoted finish actually is instead of assuming every selective gloss process produces the same appearance or durability.
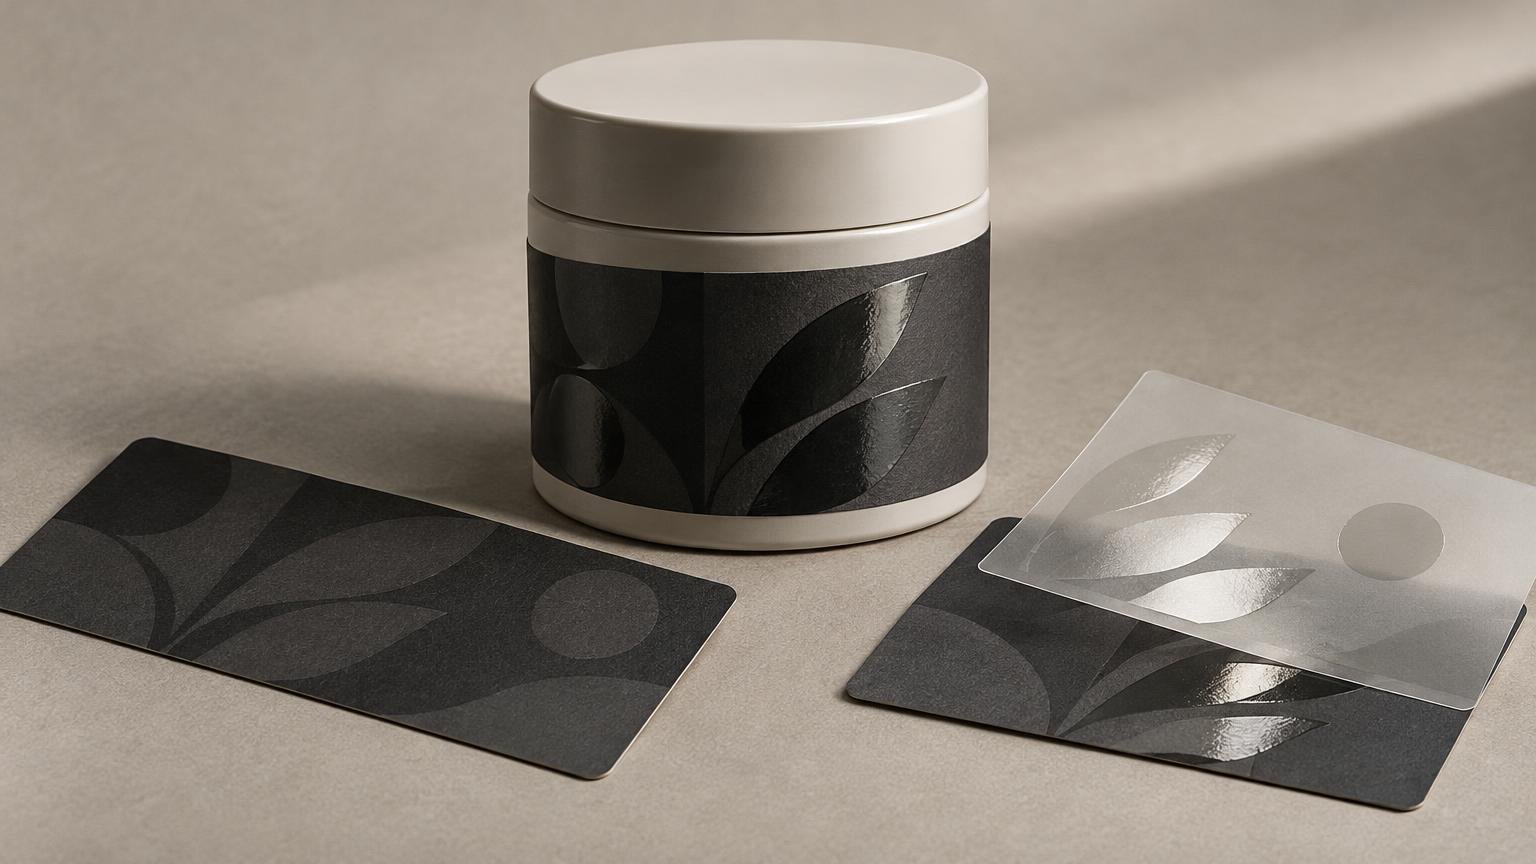
The most familiar treatment is gloss over a matte-looking field, but contrast can also come from texture, pattern, or the difference between coated and uncoated areas. The effect is strongest when it has a clear job: emphasize a brand mark, create a subtle background pattern, or separate a product name from supporting copy. Applying gloss to every available element usually weakens the hierarchy and makes registration demands harder to manage.
Choose the construction around real exposure
Spot varnish does not rescue an unsuitable label material or adhesive. Specify the container material, surface texture, curvature, application temperature, and service environment first. Include expected condensation, refrigeration, oils, cleaning chemicals, abrasion, sunlight, squeezing, or flexing.
Siegwerk recommends evaluating UV inks and varnishes for adhesion on the specific substrate and defining durability requirements and exposure conditions before production. Its troubleshooting guidance also calls for adhesion and scratch-resistance checks appropriate to the product. Film labels made from materials such as PE or PP may require suitable surface treatment, but the need and treatment level depend on the actual film and print process. Siegwerk’s UV label troubleshooting guide provides the technical context.
If protection is the main objective, discuss that separately from decoration. An overlaminate can act as a barrier against abrasion, moisture, chemicals, and fading, subject to compatibility and testing. Avery Dennison’s overlamination guidance recommends testing the ink, substrate, and overlaminate together. A laminate placed over selective gloss may also change the visual or tactile contrast, so the printer must confirm the intended production sequence.
Build a simple varnish mask
The varnish mask tells production exactly where the clear coating belongs. Create it as a separate, clearly named layer rather than trying to simulate gloss with gradients or transparency in the printed artwork. Use simple vector shapes where possible and align them with the final dieline.
- Represent varnished areas with a solid named spot color on their own layer.
- Keep the mask separate from process-color artwork, white ink, cut paths, and other production layers.
- Avoid tiny gaps, hairlines, and fine type until the printer confirms its minimum printable feature size.
- Do not use tints, fades, transparency, or soft shadows unless the specific process supports them.
- Allow for registration tolerance when gloss must align with small text or narrow borders.
- Request a production proof that identifies the varnish areas; an ordinary color proof may not reproduce the final reflectivity or texture.
Clear and metallic facestocks need additional planning. White ink, printed color, exposed substrate, and selective varnish are separate design decisions. Ask the printer to confirm layer order and trapping rather than assuming the varnish mask can double as a white-ink mask.
Account for shape, curvature, and application
A decorative finish can affect more than appearance. Avery Dennison notes that inks and varnishes may add stiffness and mechanical stress in some neck-label applications, while heavy embellishment can compromise adhesive-bond performance. That matters on tapered bottles, narrow necks, compound curves, squeeze containers, and flexible packaging.
Test the label across seams and curves, not just on a flat sample card. Watch for lifting edges, tunneling, wrinkling, cracking, or areas that resist conforming. Keep dense embellishment away from the most highly stressed part of the package when practical.
Format matters too. Sheet labels may suit short runs and hand application, while roll labels are generally easier to integrate into repeatable hand-dispensing or machine-application workflows. For an applicator, obtain the required core size, roll diameter, liner, label gap, and unwind direction from the equipment or application team. Do not approve embellished artwork until the printer confirms that the finish is available in the required supply format. CustomLabels lists both sheet and roll label categories, but current product pages should be checked for the exact constructions and finishes available.
Keep food-packaging compliance separate
A visually successful finish is not evidence that a label construction is appropriate for regulated packaging. The FDA defines food-contact substances broadly enough to include packaging components and substances applied to packaging surfaces, and applicable uses require suitable authorization. FDA food-packaging information explains this regulatory framework.
The FDA also reports that photoinitiators are widely used in UV-cured inks, coatings, and varnishes on exterior food packaging and that migration can occur for some intended uses. Obtain documentation for the complete construction and intended application rather than treating “printed on the outside” as a universal clearance. A printer can describe production capabilities, but it does not determine whether the final package meets every legal requirement.
Approve a real sample before scaling
A screen preview can show placement, but not final gloss contrast, feel, flexibility, or abrasion resistance. Order a production-representative sample when the effect is central to the design. Apply it to the actual cleaned container, wait through the recommended adhesive dwell period, and expose it to realistic handling, moisture, temperature, oil, and cleaning conditions.
For a new package, a small-batch label test can reveal failures before they become a full-roll problem. Record the facestock, adhesive, varnish, protective coating, application method, and test conditions so an approved result can be reproduced. If you also need to compare custom sticker, label, material, and artwork-preparation options from CustomStickers, see details.
The best spot varnish labels are not the ones with the most gloss. They use selective contrast to support the design while preserving adhesion, readability, application speed, and durability. Start with the package conditions, keep the mask simple, confirm the printer’s exact specifications, and test the finished construction before committing to volume.
References
- Technical Data Sheet
- UV Label printing Troubleshooting Guide – Siegwerk
- technicaloverview
- The Importance of Preventing Neck Label Detachment | Avery Dennison | LPM
- Food Packaging & Other Substances that Come in Contact with Food – Information for Consumers | FDA
- Hazard Identification of Printing Ink Substances Used on the Exterior of Food Packaging | FDA