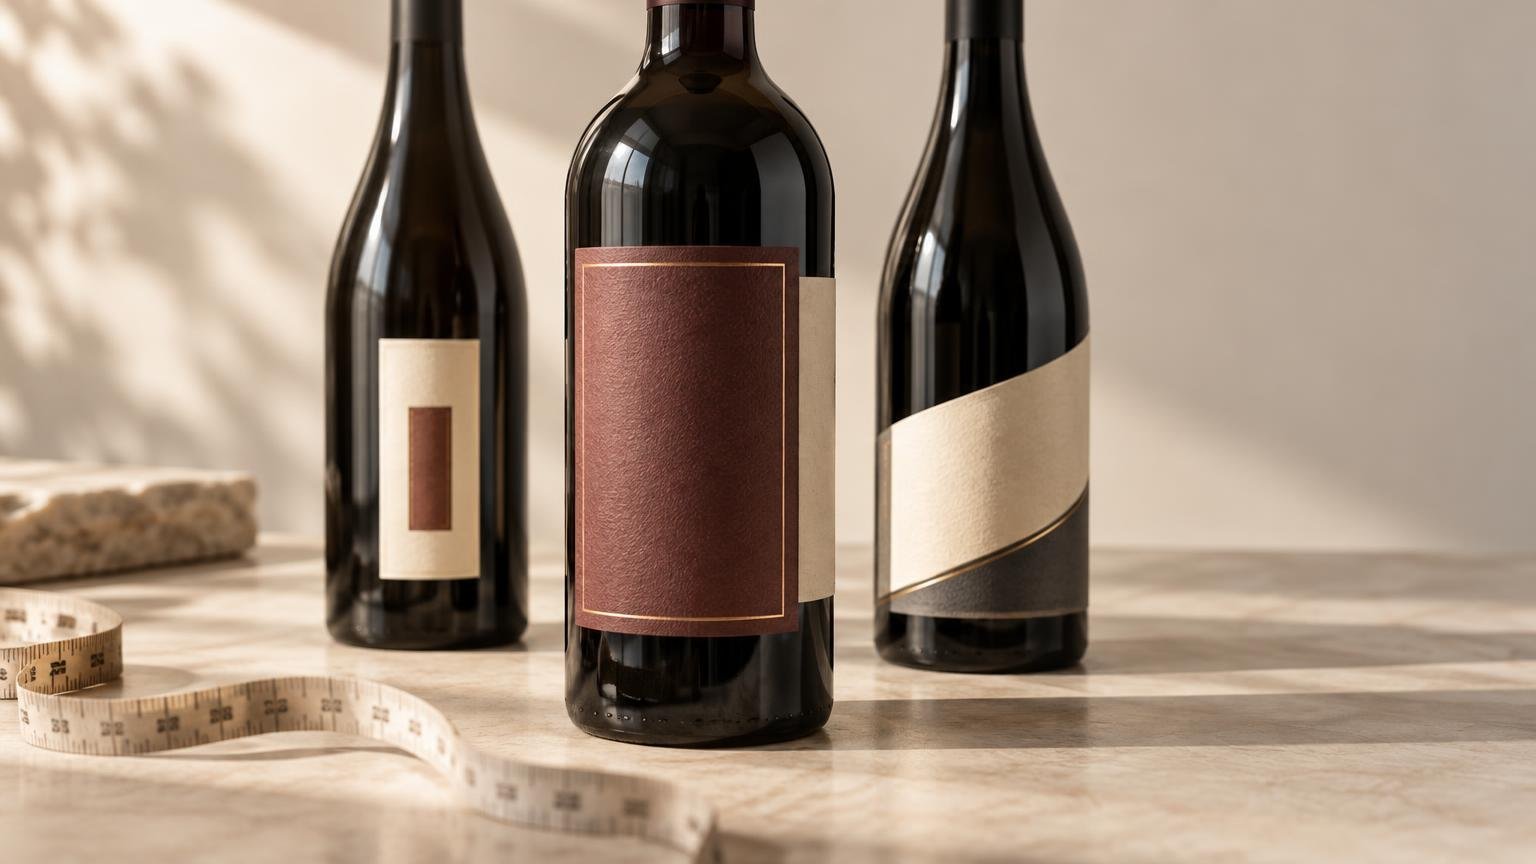
TLDR: There is no universal wine label size for every 750 mL bottle. Measure the smooth, relatively straight section of the exact bottle, decide whether the information will use a front label, separate front and back labels, or a partial wrap, and test a full-size paper mockup. Then validate the complete facestock, adhesive, finish, and application process on production bottles under expected storage and serving conditions.
Choosing a wine label size is a packaging-fit decision, not simply a matter of matching the bottle’s stated capacity. Two bottles holding the same volume can have different diameters, shoulders, tapers, seams, and usable labeling panels. A dimension that sits flat on one bottle may wrinkle, lift, or look poorly centered on another.
Start with five questions: What surface must the label stick to? What environment will it experience? How will it be applied? How many labels are needed? What must the design communicate and survive? The answers determine the usable dimensions as well as the label format, construction, artwork, and production method.
Measure the bottle before choosing a wine label size
Use an undecorated sample of the actual production bottle whenever possible. Measurements taken from a drawing, an old bottle, or a similar-looking stock bottle can miss subtle differences in taper and diameter. If more than one bottle supplier or mold will be used, measure samples from each version.
- Place the bottle upright on a level surface and identify its smoothest, straightest section. Avoid pushing the label into the shoulder, heel, embossed marks, mold seams, or abrupt curves.
- Measure the usable vertical height. Leave a visual and practical buffer above and below the proposed label rather than treating the entire straight wall as printable space.
- Wrap a flexible tape or paper strip around the bottle at the intended application height. Mark one complete circumference without pulling the strip tight enough to distort it.
- Choose a width based on the intended format. A front label uses only part of the circumference; separate front and back labels require a controlled gap; a partial wrap uses more of the circumference but should not create an accidental overlap.
- Print or cut a plain-paper mockup at final size, place it on the bottle, and inspect it from the front, sides, and back. Repeat at several positions if the application height can vary.
A simple paper template reveals problems that a flat dieline cannot: a border may appear crooked, small text can roll out of view, or the corners may enter a curved area. For a more detailed measurement process, see how to measure a bottle for a label without guessing.
Compare front, back, and wraparound formats
| Format | Useful when | Main sizing concern |
|---|---|---|
| Front label only | The brand presentation is concise and required information can be accommodated appropriately elsewhere | Keeping the complete visual hierarchy readable from the primary viewing angle |
| Separate front and back labels | Branding and supporting copy need distinct panels | Maintaining a deliberate gap and consistent alignment between two labels |
| Partial wrap label | More continuous design or information space is needed | Preventing important content from disappearing around the sides or entering a seam |
| Front or back label plus neck label | A secondary seal, vintage marker, or decorative element is useful | Fitting the neck’s changing diameter without flagging, wrinkling, or bridging |
Front-only labels
A front-only label gives the bottle a clean presentation and is relatively forgiving during hand application. Its width should preserve a clear front-facing reading area. A label that is technically within the bottle’s circumference can still feel too wide if the brand name and wine description begin wrapping away from the viewer.
Separate front and back labels
Separate panels provide more control over the visual hierarchy. Branding can occupy the front while supporting and required information is organized on the back. Determine both widths together: widening one panel reduces the available gap, which can make small placement errors conspicuous. A positioning jig or applicator may be worthwhile when consistent spacing matters.
Partial-wrap labels
A partial wrap offers a broad design field, but greater width magnifies bottle taper. Test the upper and lower edges for wrinkling or fanning. Leave a purposeful gap unless the construction and artwork were designed for overlap. Avery Dennison’s wine and spirits guidance identifies bottle curvature, facestock flexibility, adhesive selection, label overlap, bottle coatings, labeling temperature, and ink or varnish coverage as performance variables.
Neck labels and decorative seals should be treated as separate components because the neck changes diameter quickly. They may complement the main pressure-sensitive label, as can non-regulatory promotional elements such as custom stickers, but they should not be used as an improvised solution for content that must remain readily legible.
Plan the artwork at final printed size
A label can fit the bottle and still fail as a design. Evaluate the artwork at its actual printed dimensions, not only as an enlarged image on a monitor. Check the smallest text, contrast, spacing, borders, codes, and the amount of content that remains visible from a normal viewing angle.
- Extend background colors and images through the required bleed so minor cutting variation does not expose an unintended white edge.
- Keep text, logos, borders, and codes inside the printer’s safe area. A border close to the cut line can make normal cutting variation look uneven.
- Keep small text away from strongly curved edges, panel transitions, and wrap seams.
- Place QR codes and barcodes on a sufficiently flat, high-contrast area and verify them from printed production-scale samples.
- If the material is clear or metallic, determine where white ink is needed. Without an opaque white layer, colors and small type may be altered by the bottle and wine behind them.
- Use the printer’s current template and dieline rather than rebuilding the cut path from a web example.
The current bottle-label page supplied for this article lists page-specific guidance including approximately 0.03 inch of bleed, a 0.05-inch margin between a border and the cut line, and 300 ppi images at full size. Those specifications should be checked again on the exact product page before artwork is approved because requirements can change.
Match the construction to application and service conditions
Glossy, matte, clear, and other appearance terms do not establish how a label will perform in condensation or an ice bucket. Performance comes from the complete system: facestock, adhesive, ink, varnish or laminate, bottle surface, application conditions, and service environment. The site’s guide to label finish choices likewise recommends evaluating the full construction and testing it on the actual package.
Tell the label supplier whether bottles will be labeled dry at room temperature, shortly after filling, or while cold or damp. Also identify refrigeration, condensation, abrasion during packing, and possible ice-bucket immersion. Water and heavy condensation can compromise adhesive performance, so construction selection and finished-package testing should reflect the actual use.
Do not rely on an undefined “waterproof” description. Avery Dennison notes that there is no single industry-standard ice-bucket test protocol and that immersion duration and label construction affect results. A useful internal test should reproduce the expected bottle, application temperature, dwell time before chilling, refrigeration period, condensation, immersion, handling, and drying cycle. Record edge lift, bubbling, wrinkling, ink damage, and adhesive movement.
Application method also changes the specification. Hand-applied labels can use sheets or rolls depending on quantity and workflow. Semi-automatic and automated equipment usually requires roll details matched to the machine, including the correct liner, core, winding orientation, gap, and maximum roll dimensions. Obtain those requirements from the equipment or packaging-line operator before ordering custom roll labels. Do not assume one unwind direction works for every applicator.
Keep production fit separate from regulatory compliance
Label dimensions and artwork affect whether required information can fit and remain legible, but a printer’s proof is not regulatory approval. For wine sold in the United States, use the TTB wine-labeling checklist as a starting point. TTB identifies mandatory information that may apply while warning that its checklist is not comprehensive and that the relevant regulations must also be consulted.
One concrete space constraint is the federal alcohol health warning. For containers larger than 237 mL and up to 3 liters, the statement must use type at least 2 mm high, be readily legible, and appear against a contrasting background. The exact federal text and formatting requirements are available in 27 CFR 16.22.
Approval obligations can vary with the product. TTB states that wines under 7% alcohol by volume do not require a Certificate of Label Approval under the Federal Alcohol Administration Act, although other labeling requirements may still apply. State rules, export markets, retailer programs, organic claims, recycling requirements, and product-specific issues can add further constraints. The producer or importer should confirm the current rules for every market rather than expecting size selection or a print proof to establish compliance.
A practical ordering workflow
- Obtain production bottle samples and confirm whether multiple bottle molds or suppliers are involved.
- Measure the straight label panel and test the proposed dimensions with paper mockups.
- Choose the label architecture: front-only, separate front and back, partial wrap, or an additional neck component.
- Build artwork on the printer’s current dieline at final size, using the specified bleed and safe area.
- Review all mandatory and optional content for the markets where the wine will be sold.
- Print a full-size proof and inspect it on a filled bottle under normal lighting.
- Test the complete label construction on actual bottles using the intended application process and service conditions.
- Confirm roll and applicator specifications when labels will be machine applied.
- Approve the production quantity only after fit, readability, application, and environmental performance are acceptable.
A short trial run is particularly valuable when the bottle, label construction, filling conditions, or applicator is new. The same test-first approach used for small-batch product labels can reveal sizing and application problems before they are repeated across a full production order.
Common questions about wine label dimensions
Can one label size fit every 750 mL wine bottle?
No. Capacity does not establish the usable label panel. Bottle diameter, shoulder position, taper, embossing, seams, and intended placement can differ, so measure and test the exact bottle.
How should a wraparound wine label be measured?
Measure the circumference at the intended application height with a flexible tape or paper strip. Then choose a label width that creates the planned gap or overlap. Mock up the exact dimensions to ensure the top and bottom edges sit flat and important content remains visible.
Do chilled bottles need a different label construction?
Potentially. The answer depends on whether labels are applied before chilling or to cold, wet bottles and whether the finished package experiences condensation or immersion. Give the supplier those conditions and test the complete construction rather than selecting by finish name alone.
Does approving a print proof confirm compliance?
No. A proof can confirm layout, text placement, and expected appearance, subject to the proofing method. It does not establish that the legal content is complete, accurate, or approved for a particular jurisdiction.
Choose the bottle fit first
The right wine label size begins with the exact bottle, not a generic dimensions chart. Measure the usable panel, choose a format that gives the design and required information enough room, and inspect a final-size mockup from every viewing angle. After that, test the complete material and adhesive system under real application, storage, and serving conditions. That sequence produces a label specification that is more likely to fit cleanly, apply consistently, remain readable, and survive the bottle’s actual journey.
References
- Wine and Spirits Labeling Guidelines
- Bottle Labels – CustomLabels
- Matte vs Gloss vs Holographic vs Clear Labels: How to Choose a Finish – CustomLabels
- Custom Roll Labels – CustomLabels
- Wine Labeling: Checklist of Mandatory Label Information | TTB: Alcohol and Tobacco Tax and Trade Bureau
- Mandatory labeling checklist | wine
- eCFR :: 27 CFR 16.22 — General requirements.
- TTB Label Approval Basics | TTB: Alcohol and Tobacco Tax and Trade Bureau